Add camera
This page covers connecting the BRNKL 5G's built-in camera port directly. If you have a BRNKL Mate, follow these instructions instead to install a camera.
The BRNKL 5G has a built-in device port for connecting a compatible camera. Once connected, the camera takes scheduled daily photos and automatic photos on alert.
Install the camera
Select a position
Mount the camera indoors, protected from direct weather.
Aim it to cover the entry point or area you want to monitor.
Choose a flat, stable surface that allows a tidy cable run to the BRNKL.
Mount the camera
Hold the camera in the chosen position and mark the two screw holes.
Drill pilot holes as required.
Secure the mount with two #10, 5/8" stainless screws (not supplied). Match screws to the surface. Do not fully tighten yet.
Aim the camera to frame the intended view, then tighten the screws to fasten.


Run the camera cable
Run the camera cable from the camera to the BRNKL. Route the cable directly where possible, securing it with cable clips along the run.
If the cable needs to pass through a bulkhead or tight opening and cannot be fed through as-is, it can be cut and spliced:
Cut the cable at a convenient point along the run — not at the end connector.
Feed one end through the opening.
Strip 10 mm (3/8") of the outer jacket from each cut end, then strip 5 mm of insulation from each of the four inner wires.
Rejoin each wire to its matching colour using waterproof butt connectors or solder and adhesive heat-shrink tubing.

The connector at the end of the cable is soldered and cannot be disassembled. Always cut and splice the cable itself, not at either end.
Connect the camera
On the top of the BRNKL, plug the camera cable into the device port.
Turn the collar clockwise to fasten the connector.
Secure the cable with cable ties to prevent strain on the connector.

Set the camera view
Check the view
Wait 15 minutes after connecting the camera for the BRNKL to recognise it.
Open the BRNKL app and go to Photos.
Tap Take photo, then wait approximately two minutes for the photo to upload.
Open the photo and review the framing.
Adjust the view
If the framing needs adjustment, loosen the tilt and mounting screws, reposition the camera, then tighten to secure.
Repeat the photo check steps until the view is correct.
Set photo settings
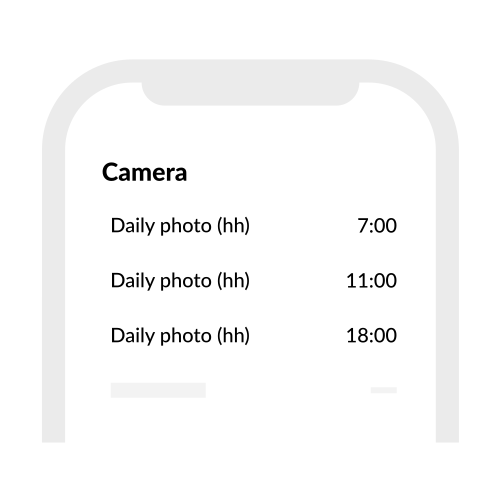
Daily photo schedule
BRNKL can take automatic photos at scheduled times each day.
Open the BRNKL app and go to Settings > Devices > Camera.
In each Daily Photo (hh) field, select an hour for BRNKL to take a daily photo.
Tap Save.
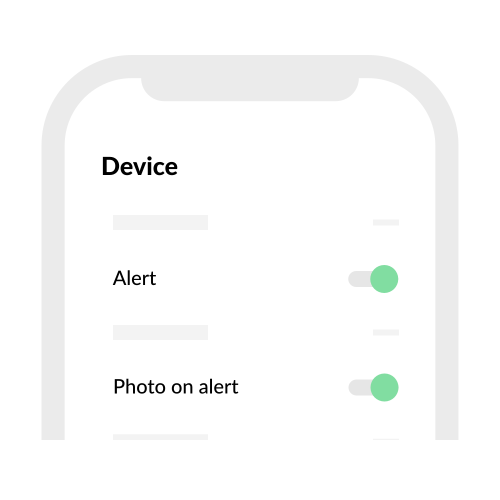
Alert photos
BRNKL can automatically take a photo when a sensor alert fires.
Open the BRNKL app and go to Settings > Devices.
For each device you want to trigger a photo, turn on Alert and Photo on Alert.
Tap Save.