
Add satellite connection
Keep your BRNKL 5G connected when it's outside mobile network coverage by adding a satellite connection. This requires a compatible satellite device and a BRNKL satellite service plan.
The compatible satellite device is the RockBLOCK+ by Rock Seven, sold as the BRNKL Satellite Kit. The kit includes the RockBLOCK+ with BRNKL-compatible cable and a mounting plate.
Video walkthrough
Overview
Setting up a satellite connection has two parts:
Add a satellite device — physically install the RockBLOCK+ and connect it to your BRNKL
Add satellite service — purchase a BRNKL satellite plan and verify the connection
Before you start
Disconnect all AC power sources before accessing electrical panels, switches, or devices.
If you're unfamiliar with basic electrical systems, hire a professional installer or a marine electrician.
What you need
In the box (BRNKL Satellite Kit)
RockBLOCK+ satellite device with BRNKL-compatible cable
Mounting plate
Optional
ROKK Rail Mount for RockBLOCK+ (sold separately, for railing installation)
Devices
BRNKL 5G, setup complete
iOS or Android mobile device with internet connection and BRNKL app installed
Services
BRNKL user account and password
Active BRNKL subscription
Credit card (for satellite plan)
Tools
Wire stripper and crimper tool
Heat gun or lighter
You may also need
Multi-head screwdriver
Wrench set
Power drill and bit set
Non-conductive fish tape
Flashlight or headlamp
Supplies
Marine grade wire, 18 AWG (red)
Marine grade wire, 18 AWG (black or yellow)
2× heat-shrink ring terminals, 22–18 AWG (one sized to battery bus terminal, one to common ground)
In-line fuse holder, 18 AWG, ATC/ATO
1× 2 A fuse, ATC/ATO
3× heat-shrink butt connectors, 22–18 AWG
Cable ties and cable tie mounts
You may also need
Marine grade 4-conductor cable, 22–18 AWG (for longer cable runs)
4× #12 316 stainless steel screws matched to mounting surface (for surface mount)
4× additional heat-shrink butt connectors, 22–18 AWG
Electrical tape
Part 1 — Add a satellite device
Step 1 — Position the satellite device
Select a permanent mounting position for the RockBLOCK+ before running any cables.
Do not install it yet.
Place outdoors, facing the sky, with a 360° clear view of the horizon
Provide a stable mounting surface — options are:
Surface mount: flat horizontal surface, using the supplied mounting plate
Rail mount: horizontal railing, 20–34 mm (0.8–1.3") diameter, using the ROKK Rail Mount kit
Allow for a discreet cable run to the BRNKL 5G or BRNKL Mate
Maintain at least 1 m (3 ft) distance from any GPS antenna
Step 2 — Prepare satellite device wiring
Run the serial cable
Do not plug the serial cable in at this stage.
From the RockBLOCK+, run the cable to either the BRNKL 5G device port, or the BRNKL Mate red port (R) if a Mate is connected
To make longer cable runs, see the cable lengthening instructions at the end of this page
Hide the cable in conduit, wall cavities, or wiring channels
Run power wiring
Do not connect wiring to the battery at this stage.
From the power leads on the serial cable, run a red wire to a battery bus (constant 9–30 V DC) and a black wire to a common ground terminal
To route through small openings, remove the serial cable plug (see end of page)
Leave 20 cm (8") of slack at each end and secure with cable ties
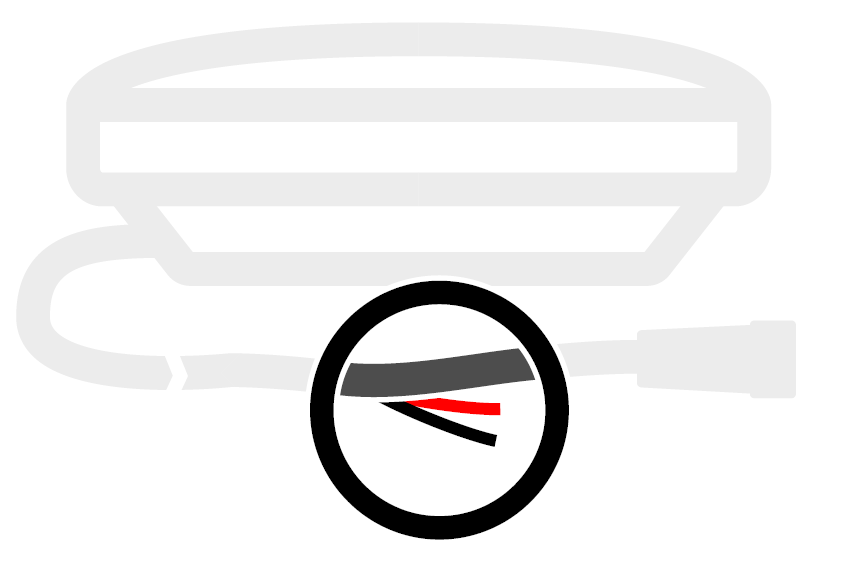
Prepare power wiring splices
Trim excess wire. Strip 10 mm (½") from the ends of the red and black wires, and the red and black power leads.
Crimp the red wire and red power lead together with a heat-shrink butt connector. Heat-seal.
Crimp the black wire and black power lead together with a heat-shrink butt connector. Heat-seal.
Prepare battery bus wiring
Trim excess red wire at the battery end. Strip 10 mm from the end and one fuse holder lead. Crimp together and heat-seal.
On the remaining fuse holder lead, strip 10 mm and crimp on a ring terminal sized to the battery bus terminal. Heat-seal.
Prepare ground wiring
Trim excess black wire at the ground end. Strip 10 mm. Crimp on a ring terminal sized to the common ground terminal. Heat-seal.
Step 3 — Connect the satellite device
Connect to battery bus
Do not insert a fuse at this stage.
Attach the fuse holder ring terminal to a positive terminal on the battery bus. Secure with cable ties.
Connect to common ground
Attach the black wire ring terminal to the common ground terminal. Secure with cable ties.
Insert fuse
Insert a 2 A fuse into the fuse holder.
Connect serial cable to BRNKL device
Connect directly to BRNKL 5G: Unplug any camera from the device port, then plug the serial cable in and turn the collar to fasten.
Connect to BRNKL Mate: Plug the serial cable into the Mate's red port (R) and turn the collar to fasten.
Step 4 — Link the satellite device
In the BRNKL app, go to Settings > Add device > RockBLOCK+.
Scan the QR code on the underside of the device, or enter the printed serial number.
Follow the on-screen instructions.
Go to Settings > BRNKL > Satellite settings to confirm the device appears.
Step 5 — Test the satellite device connection
Connected directly to BRNKL 5G: Press and release the Connection test button on the bottom of the BRNKL. A solid blue indicator light means the satellite device is connected. Flashing means not connected — check cables and retry.
Connected to BRNKL Mate: In the app, go to Settings > BRNKL > Satellite settings > Test cable connection > Test.
Step 6 — Install the satellite device
Surface mount (plate included)
Attach the mounting plate to the base using the supplied 8 mm hex screws and plastic washers.
Mark and drill screw holes in your selected position. Secure with four #12, 316 stainless steel screws (not supplied).
Secure the cable at the nearest fixed point, allowing a 5 cm (2") bend radius.

Rail mount (ROKK kit, not included)
Attach the mount to the base using the supplied 12 mm hex screws and washers, oriented for your railing direction.
Remove the 35 mm hex screws and bottom bracket. Clamp onto the rail and reattach the bracket loosely.
Align the device with the horizon before tightening. Secure the cable with cable ties, allowing a 5 cm (2") bend radius.

Part 2 — Add satellite service
Step 1 — Add a satellite plan
In the BRNKL app, go to Settings > BRNKL > Satellite settings > Plan > +.
Select a plan and complete payment.
Step 2 — Test satellite service
In the BRNKL app, go to Settings > BRNKL > Satellite settings > Test signal > Test.
Wait 5 minutes, then check Last signal. If the time has updated, the BRNKL connected to the Iridium network successfully.