Prepare GC 200
- Print
Prepare GC 200
- Print
Article summary
Did you find this summary helpful?
Thank you for your feedback
Prepare a Garmin GC 200 Marine IP camera to work with your BRNKL.
Expert procedure

To prepare GC 200, follow these steps:
A | Find camera IP address:
Using a Windows computer connected to the same Garmin network as the camera:
Open ONVIF Device Manager, or a similar utility.

Go to Device list.

Find the Garmin GC 200 camera you want to add to your BRNKL.
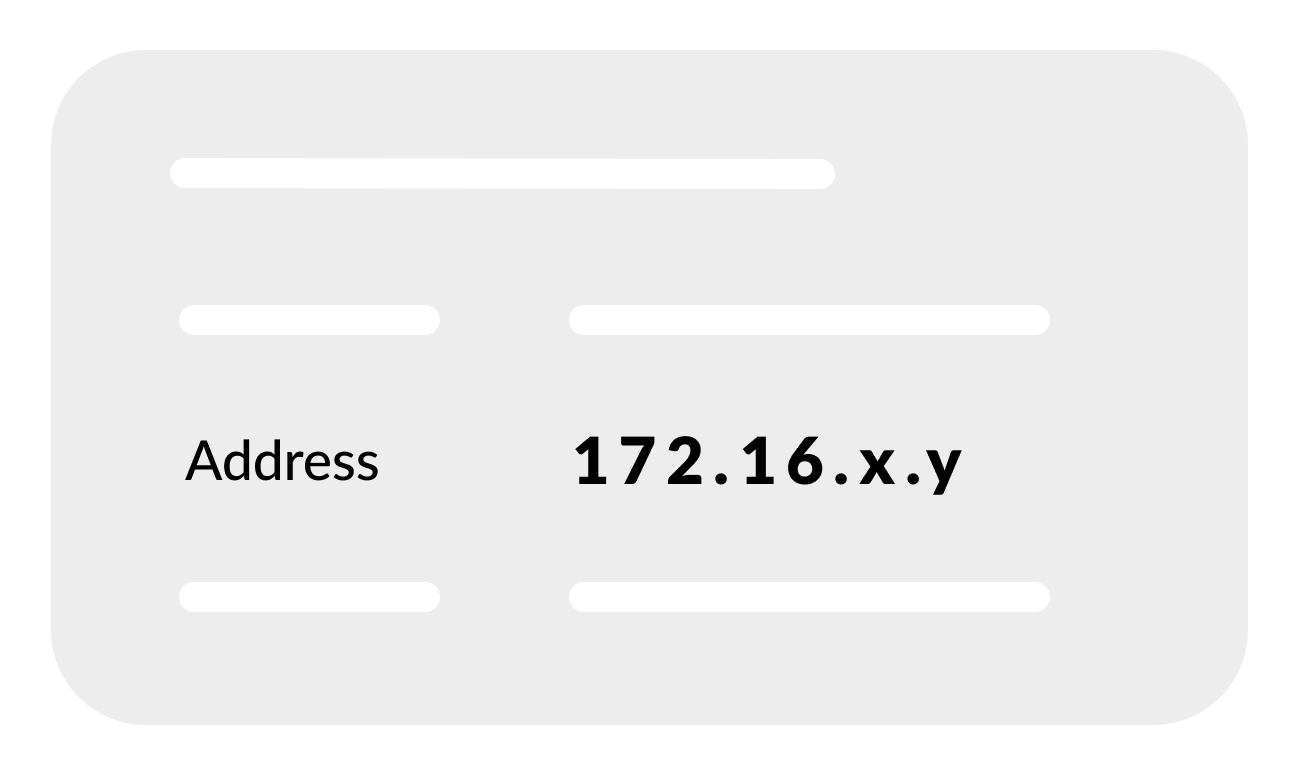
Make note of the camera Address, beginning 172.16.xxx.yyy.


B | Open camera webpage
Using a browser connected to the same Garmin network:
In the address bar, enter the camera IP address.

On the login page, enter the following:
ID: admin
PASSWORD: 1234

Select LOGIN.

Select SETUP.


C | Set stream settings
Go to CAMERA, then select Stream Format.

In First Stream Setting, set Frame Rate to 20.

Set Bit Rate to 2.4 Mbps (2400000 bps).

Save settings.


D | Set network settings
Go to NETWORK, then select Network Setting.

Enter the following settings:
IP Type: Static
IP Address: 172.16.6. _ _
Assign a unique host portion (_ _ ), within the range of 50-90, and make note of the full IP address.
Subnet Mask: 255.255.0.0
Default Gateway: 172.16.6.200

Save settings.

