Power and prepare your BRNKL Blue for device and network connections.
Connect a DC power source to your BRNKL.
To connect power, follow these steps:
The DC power input is a monitored input device. It is not necessary to connect this power source to one of the seven hardwired inputs.
A | Select power source
Follow these guidelines:
-
Voltage range: 9–60 V DC
-
Make sure the power connection is always on and not controlled by a switch.

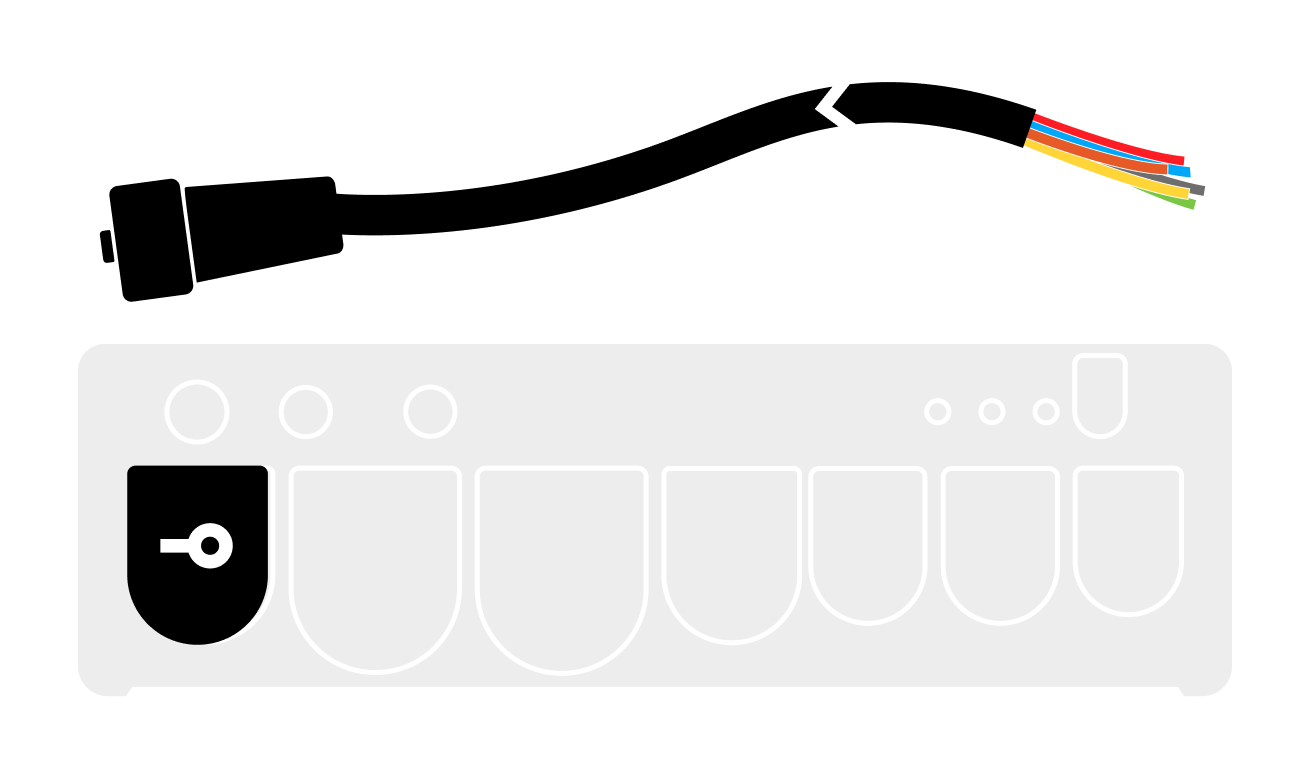
B | Connect power cable
On the BRNKL:
Plug the supplied power cable into the power port.
Turn collar to fasten.
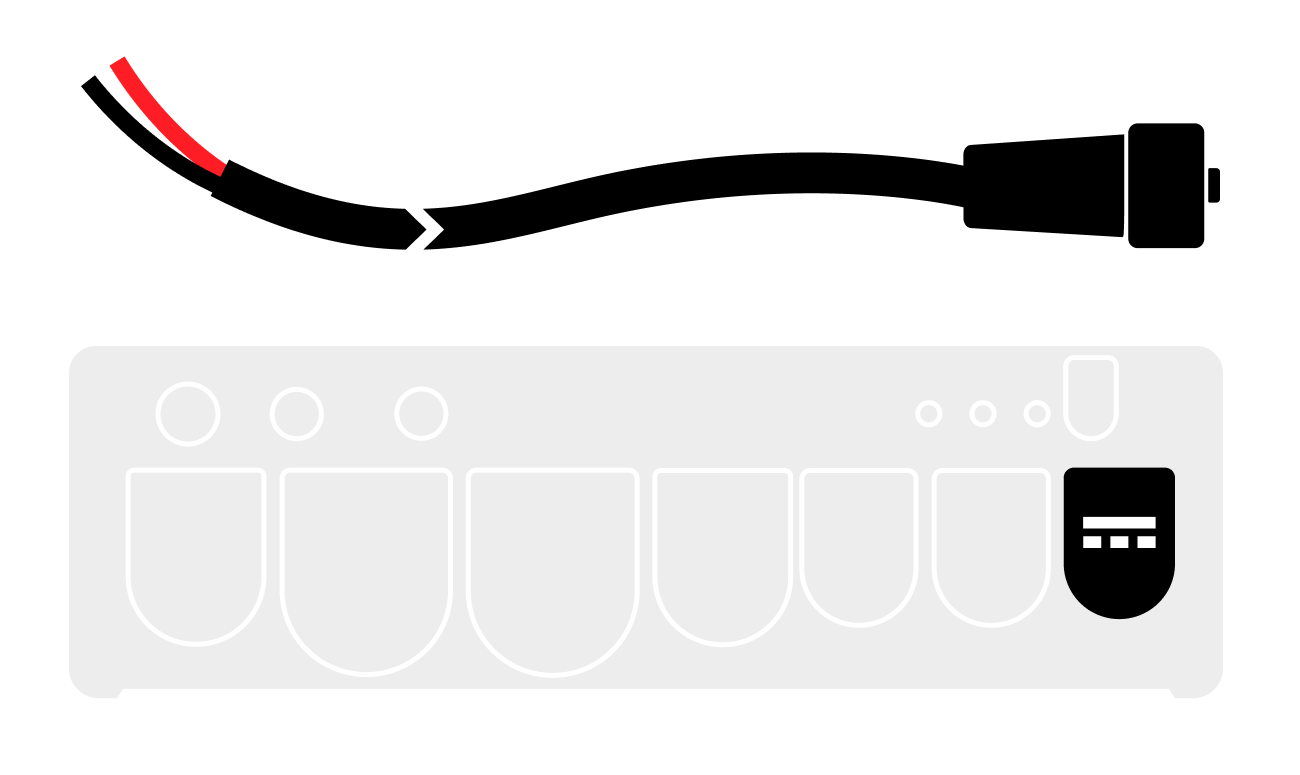
C | Connect power source
From the power cable:
-
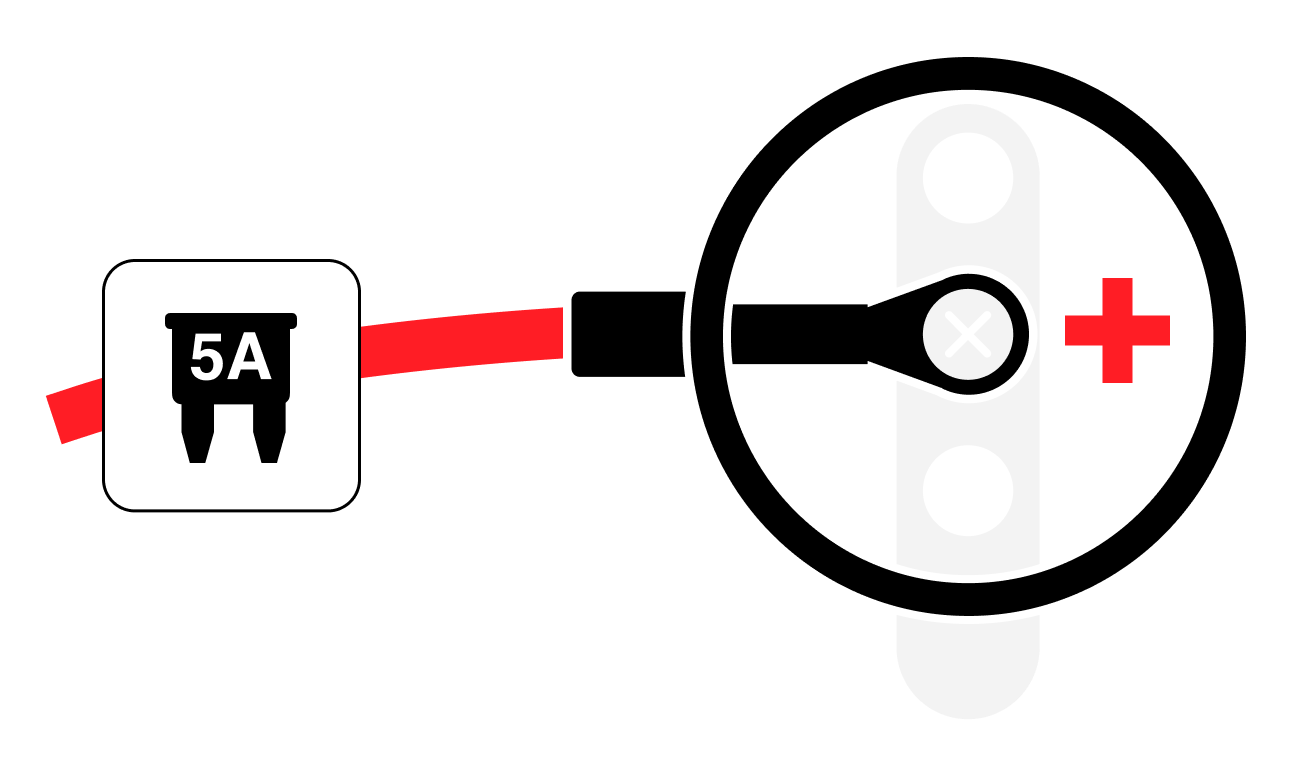
Connect the red wire to a positive terminal.
-
Include: 5A fuse
-
-
Connect the black wire to a common ground terminal.

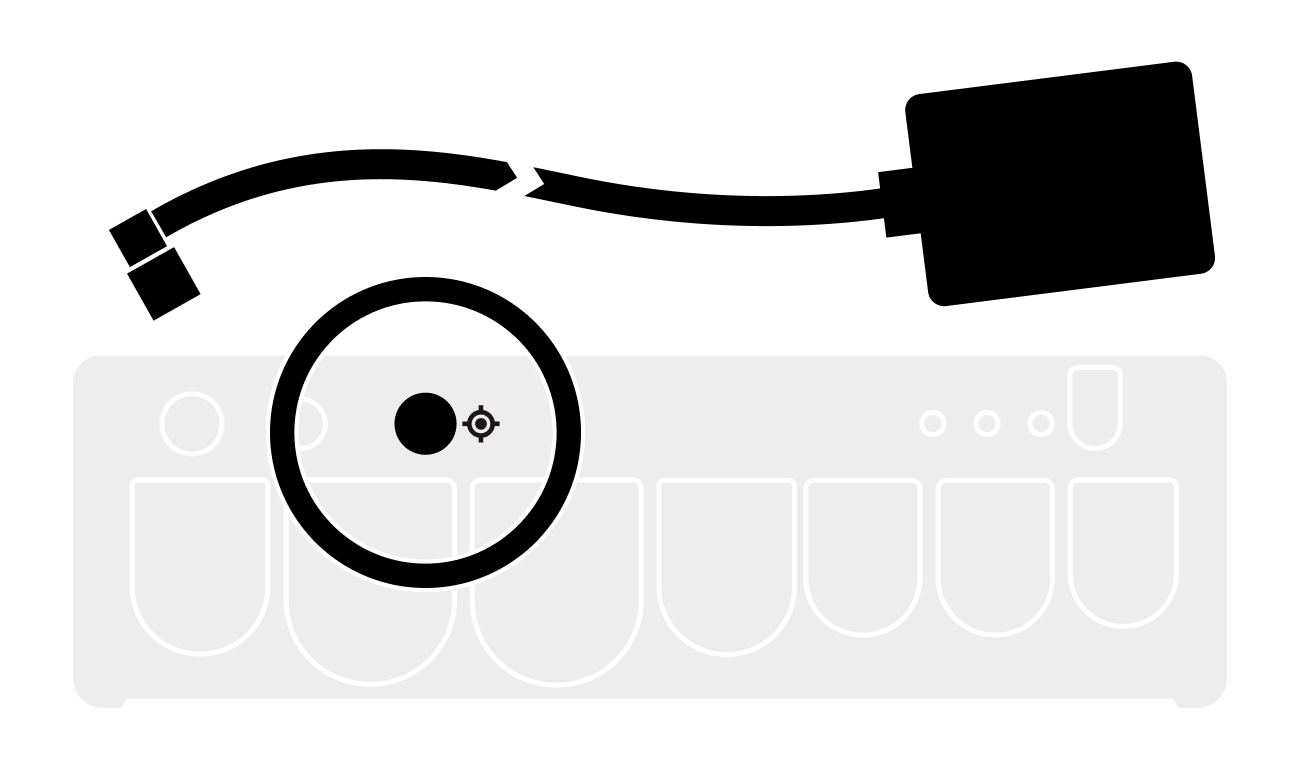
Connect the supplied GPS antenna to your BRNKL.
On the BRNKL:
-
Plug the supplied GNSS antenna into the GNSS port

-
Turn the collar to secure.
-
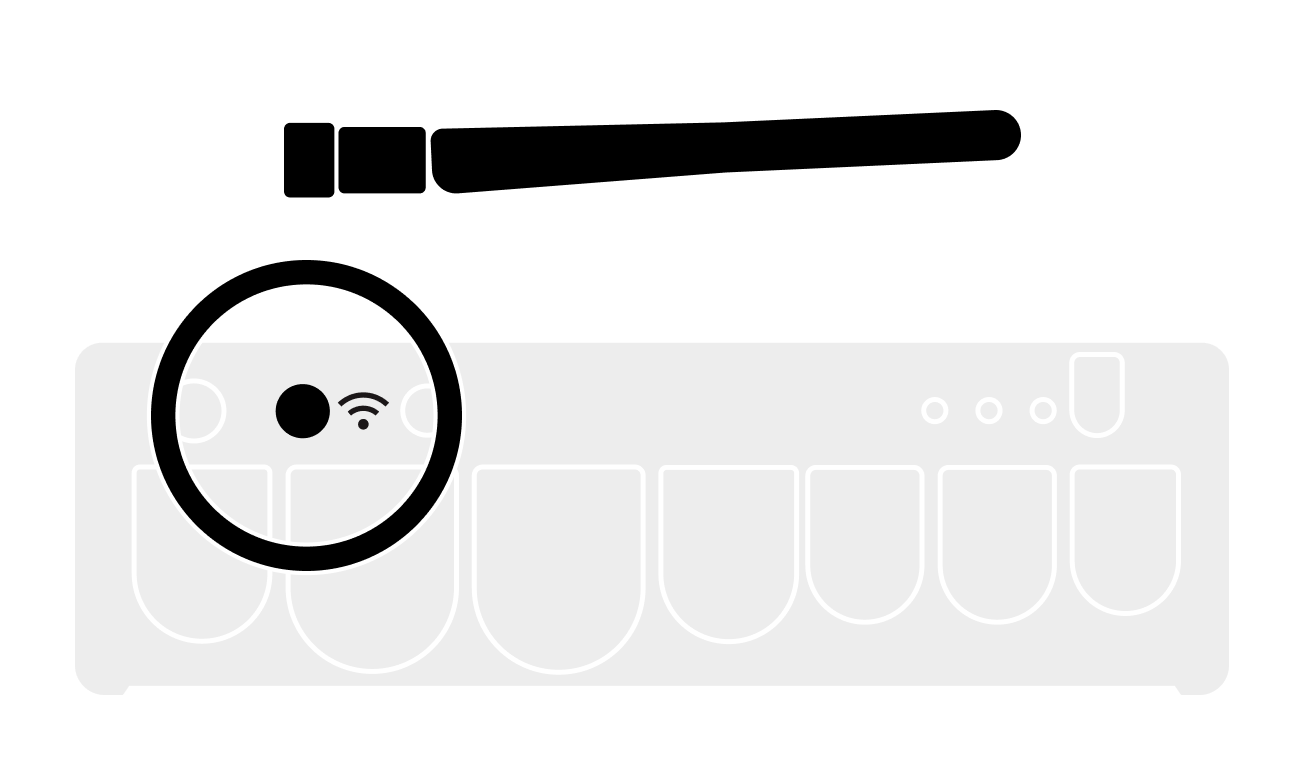
Connect Bluetooth antenna
On the BRNKL:
-
Plug the supplied antenna into the the Bluetooth antenna port.

-
Turn the collar to secure.
-
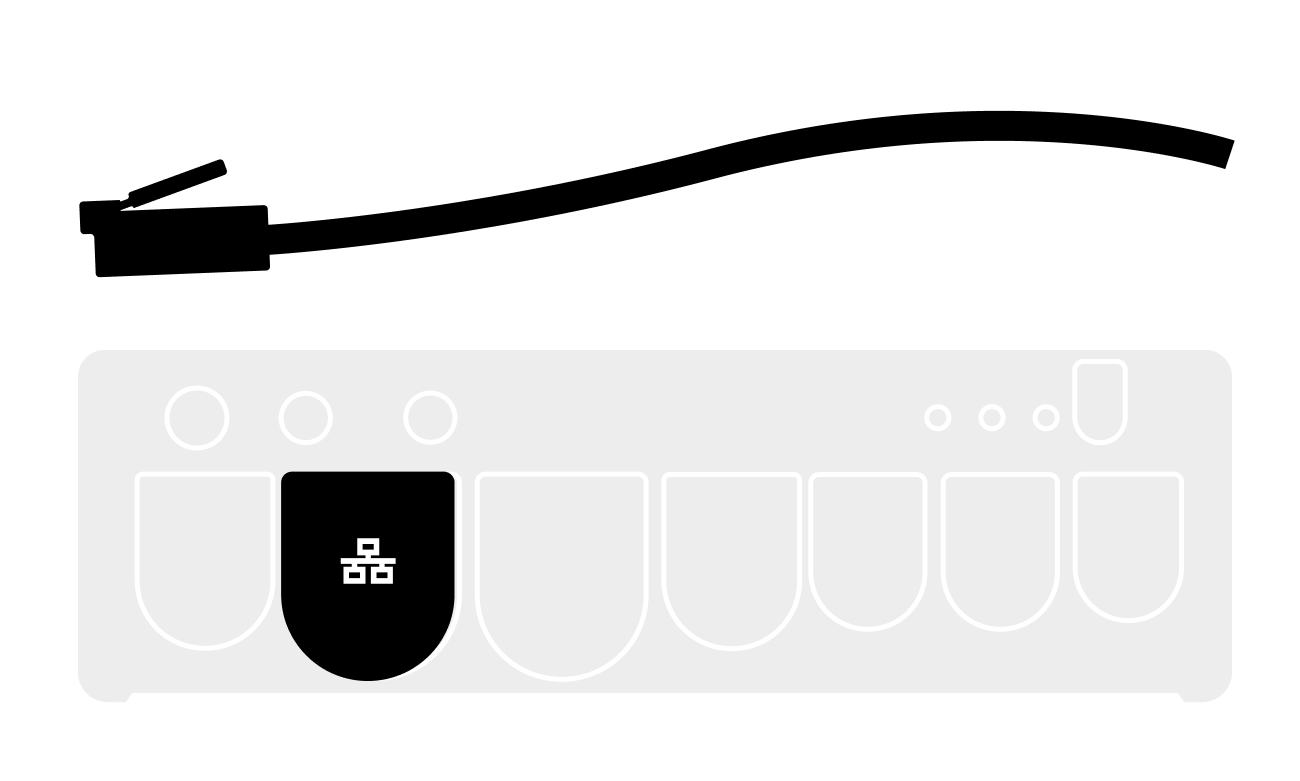
Connect a local network to your BRNKL.
Offline-First Operation: BRNKL Black is designed to function independently without an internet connection, ensuring continuous monitoring and secure local data storage. Data is always recorded and kept locally, with cloud connectivity as an optional feature for those who require remote access or real-time alerts. Cloud upload and remote access is strictly optional and can be enabled and disabled as desired.
Local network refers to your internet-facing (optional) network, such as Starlink, Peplink, etc.
On the BRNKL:
Plug an Ethernet cable connected to the network into the local network port.
Connect Connector Cable:
Get your BRNKL ready to connect wired onboard devices using the supplied connector cable.
On the BRNKL:
-
Plug the connector cable into the connector port

Turn collar to fasten.