
BRNKL Black units work with most cameras that support the ONVIF and/or RTSP protocols. For a list of certified compatible cameras, click here.
Before connecting your cameras to BRNKL, ensure that:
-
The cameras are powered and connected to your network
-
Your cameras and network peripherals are not on switched power
-
You have the login information (username and password) for your cameras
Axis cameras require additional configuration before they can be added, click here for more instructions
If you access your cameras through an MFD or chart plotter, expand the section below and complete the steps before continuing.
Connect MFD Network
Connect MFD Network
Access your cameras by connecting your MFD or plotter network to your BRNKL Blue or BRNKL Black.

Local network refers to your internet-facing network, such as Starlink, Peplink, etc.
To connect your cameras to the BRNKL, make sure you have:
-
Prepared your cameras and ensured they are online
-
A USB to ethernet dongle (preferably a hub with USB ports)
-
An open network port on your MFD network or network switch
-
Switches & cameras configured to stay powered when the MFD is turned off. If using a Garmin MFD system, ensure you’ve connected your GMS 10 switch to a ground terminal.
-
Connect your local network connection to the internal ethernet port of the BRNKL.

-
Connect the dongle to the USB port on your BRNKL unit.

-
Connect your MFD network to the USB Ethernet dongle connected to the BRNKL.

-
Power on your MFD network and make sure you can see your cameras on your MFD.

-
Browse to the BRNKL’s local IP address and access the BRNKL Device Manager. Click the Settings icon in the top right corner of the screen.

-
On the settings page, select Network. You should see a section on this screen dedicated to a secondary ethernet adapter.
-
Change Network Mode on the secondary ethernet adapter to Manual IP and DNS (Static).
-
Click Save.
-

-
If you have a wireless dongle for using wireless sensors, plug it into an available USB port on your USB to Ethernet dongle. The other USB ports can be used to connect an external drive for data and video export.

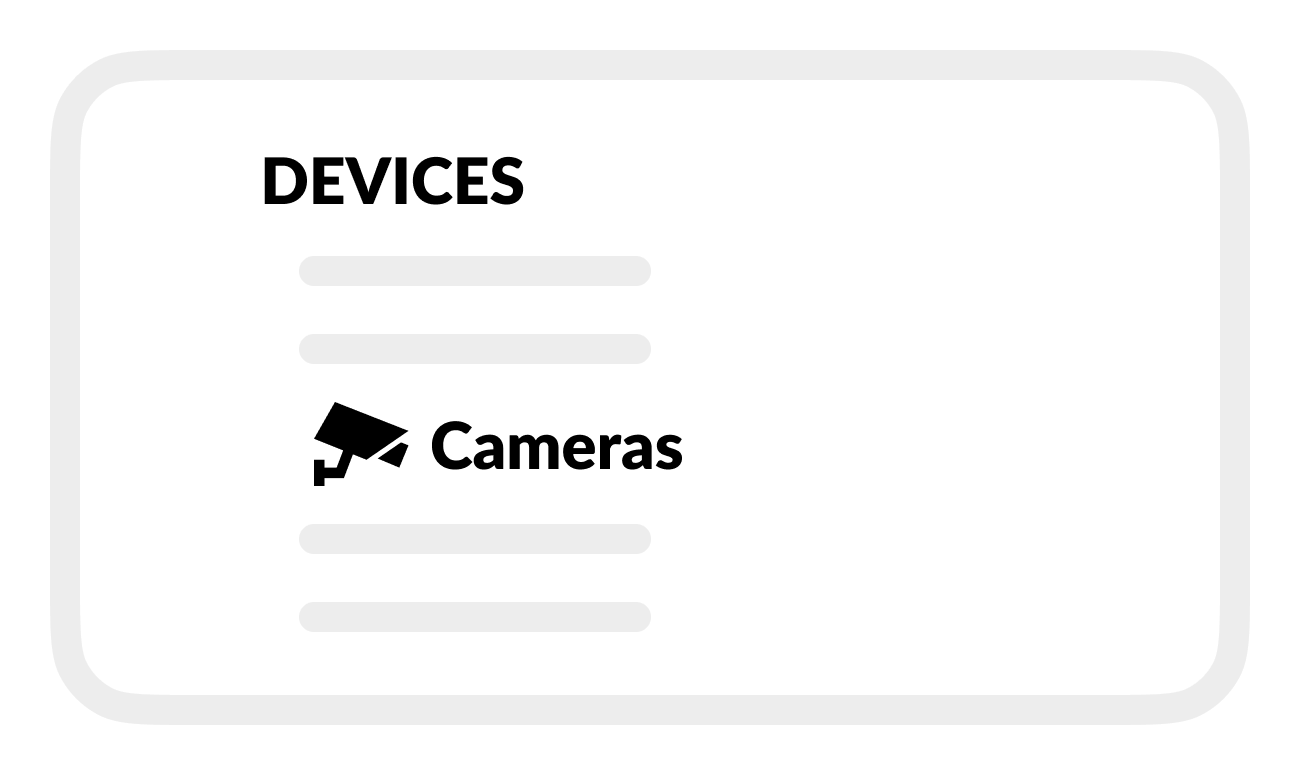
Add cameras to Device Manager
Using a browser on a device connected to the same network as the BRNKL:
-
Open BRNKL Device Manager, then select Settings.

.png?cb=e4de334e189a408a941e789789d6fd6b)
-
Select Cameras.
-
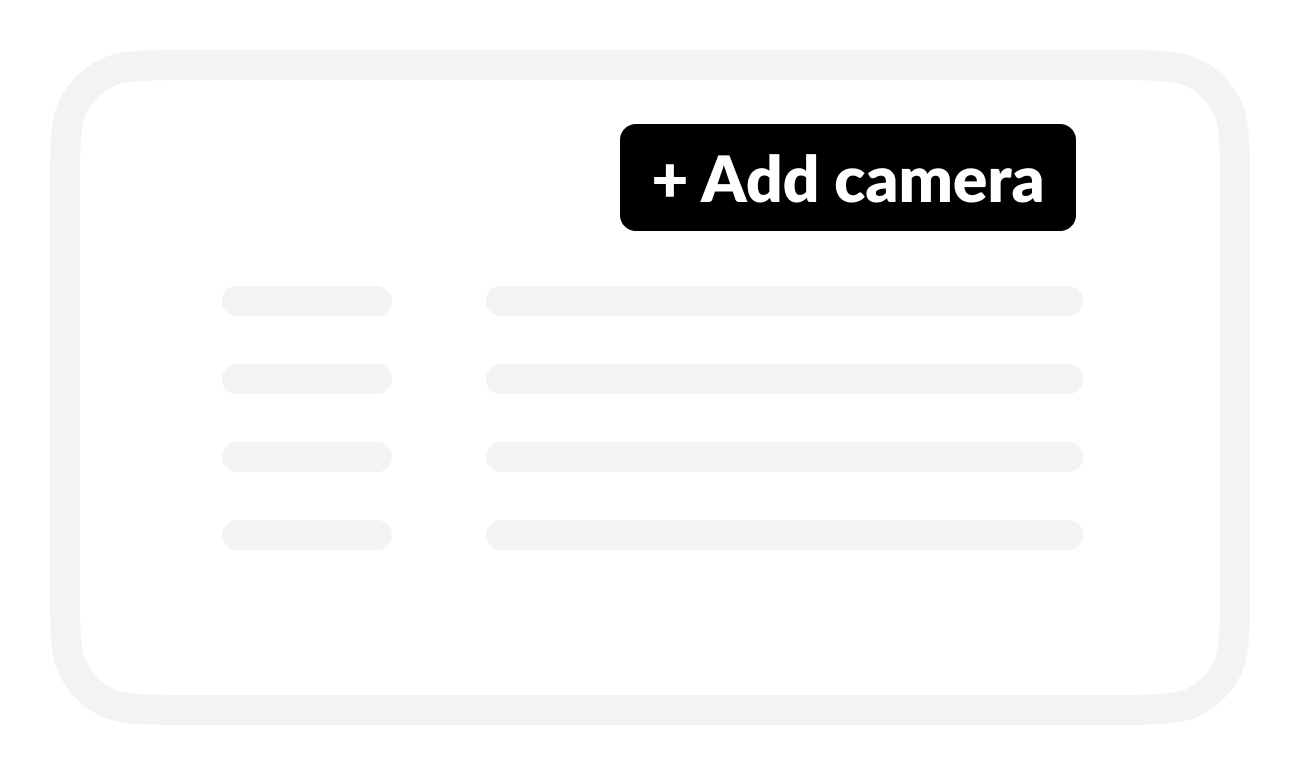
Select + Add camera
-
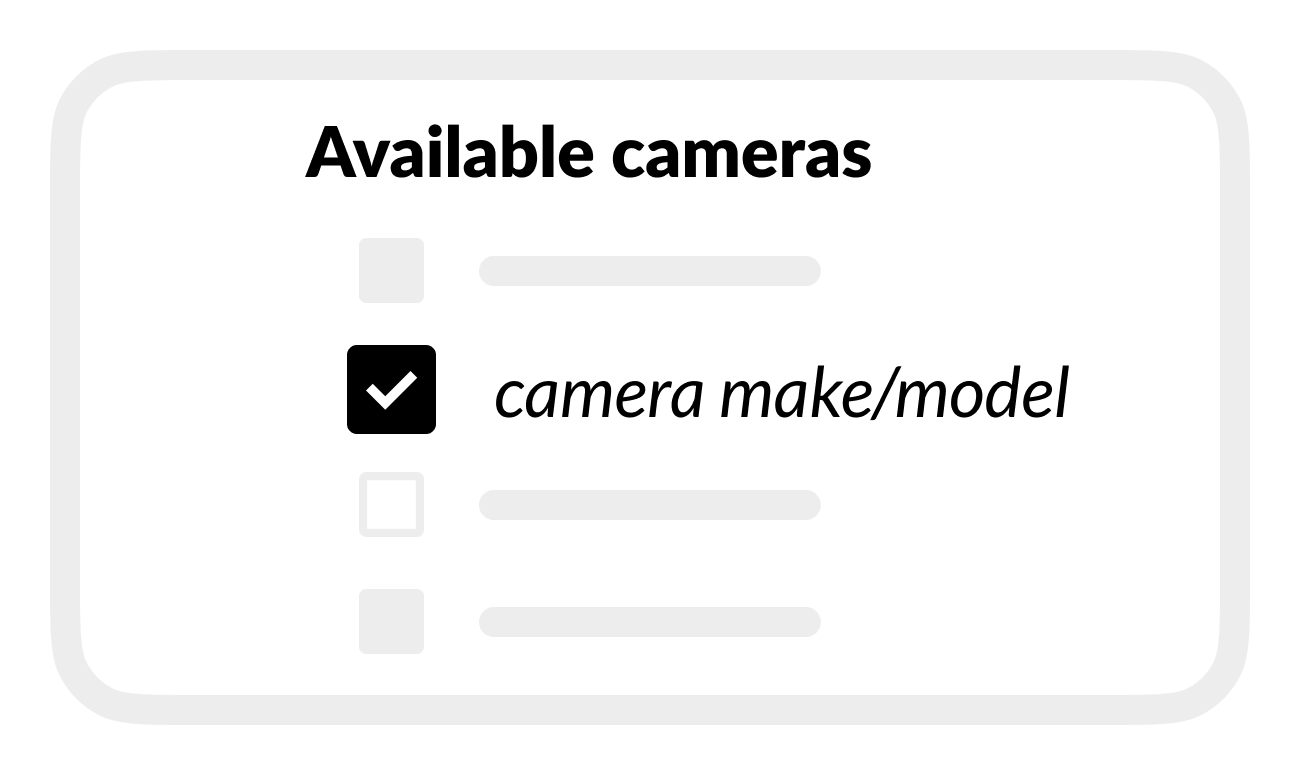
From Available cameras, select the camera you want to add.
-
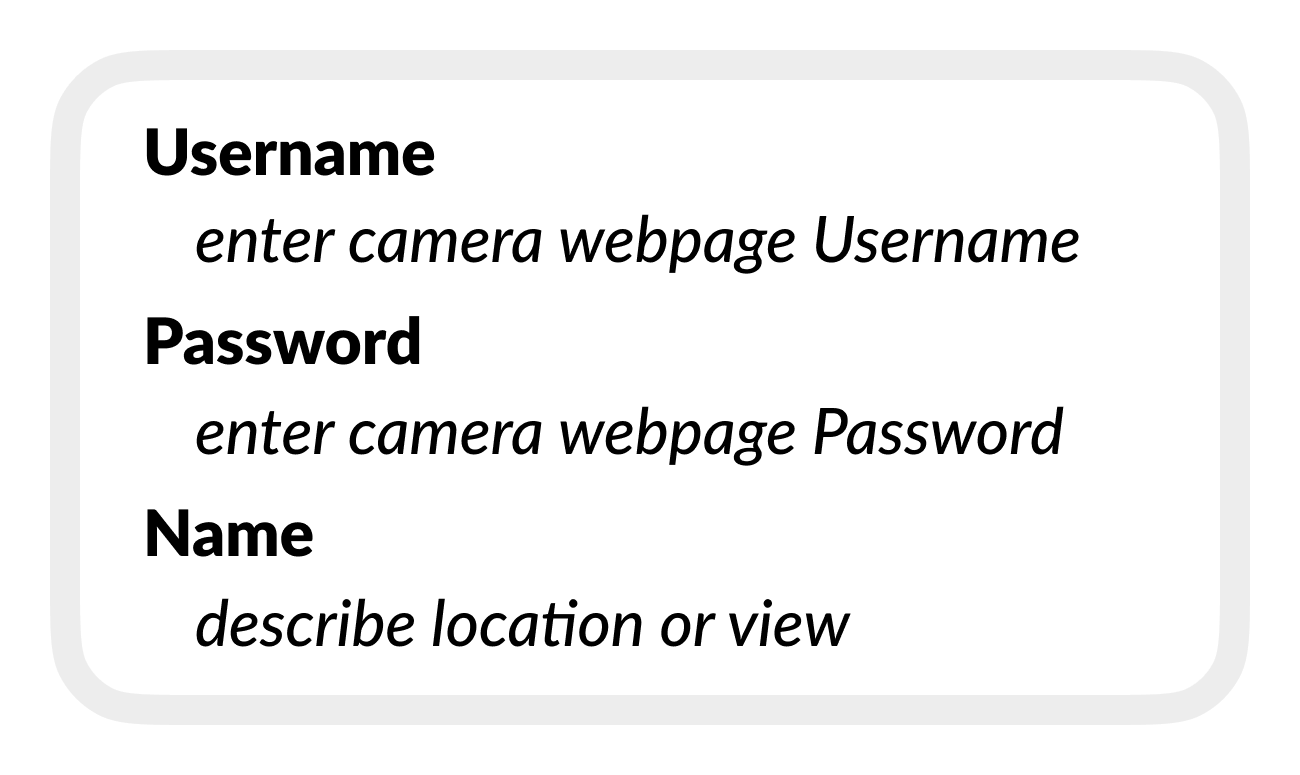
Enter camera settings:
-
Camera name: (describe location or view)
-
Username: (enter camera webpage Username)
-
Password: (enter camera webpage Password)
-
-
Select Add.
-
Ensure you can see the camera feed from your BRNKL Dashboard or Videos Page.
If your camera has multiple feeds or video sources, follow these steps to add additional feeds.
Adjust camera settings
-
Click the “Webpage” button for your camera and log in with your camera’s username and password.

-
Ensure the camera’s network settings have the IP address is set as a static IP (not DHCP).
-
Change the camera’s video quality settings to ensure smooth operation and playback
Depending on the network specifics of your boat, your camera’s settings may need to be adjusted to improve playback performance. This is especially the case if you are configuring more than 1 camera on your BRNKL.
Recommended camera settings
Resolution: 1280x720 or 1920x1080
Frame rate: 10-15 fps
Bitrate: 2.4mbps (2400 kbps) or less
Multicast: No/Disabled
For detailed settings specific to your camera, consult the manufacturer’s user guide.