
Set up your BRNKL system to monitor intrusion by installing a beam sensor that detects when a target crosses the beam path.
What you need:
-
The Beam Sensor (sender + receiver pair)
-
A 12-24 V DC unswitched power supply
-
Suitable wiring (marine-grade if extended)
-
A wired input channel on your BRNKL device (Blue/Black series or 5G series)
-
Connect the beam sensor

Connect the unit as follows:
-
Red wire → 12-24 V DC supply (unswitched)
-
Black wire → Ground
-
White wire → BRNKL Input channel
-
For BRNKL Blue/Black: any wired input channel
-
For BRNKL 5G: Pin 9, 11, 12 or 13
-
Tip: If you need to extend the wiring, you may cut the wires and use marine-grade 18 AWG (or larger) wire. Ensure all splices are sealed and rated for your marine environment.
-
Mount the sender & receiver
-
Align the sender and receiver so they face each other directly and maintain a clear line of sight.
-
Max separation distance: 90 ft (≈ 30 m)
-
Secure each unit to prevent misalignment from vibration, movement or environmental factors.
-
During installation and alignment, monitor the small LED on the sensor enclosure:
-
LED not blinking → beam is intact and aligned
-
LED blinking → beam is broken (trigger condition)
-
Sensor connection settings
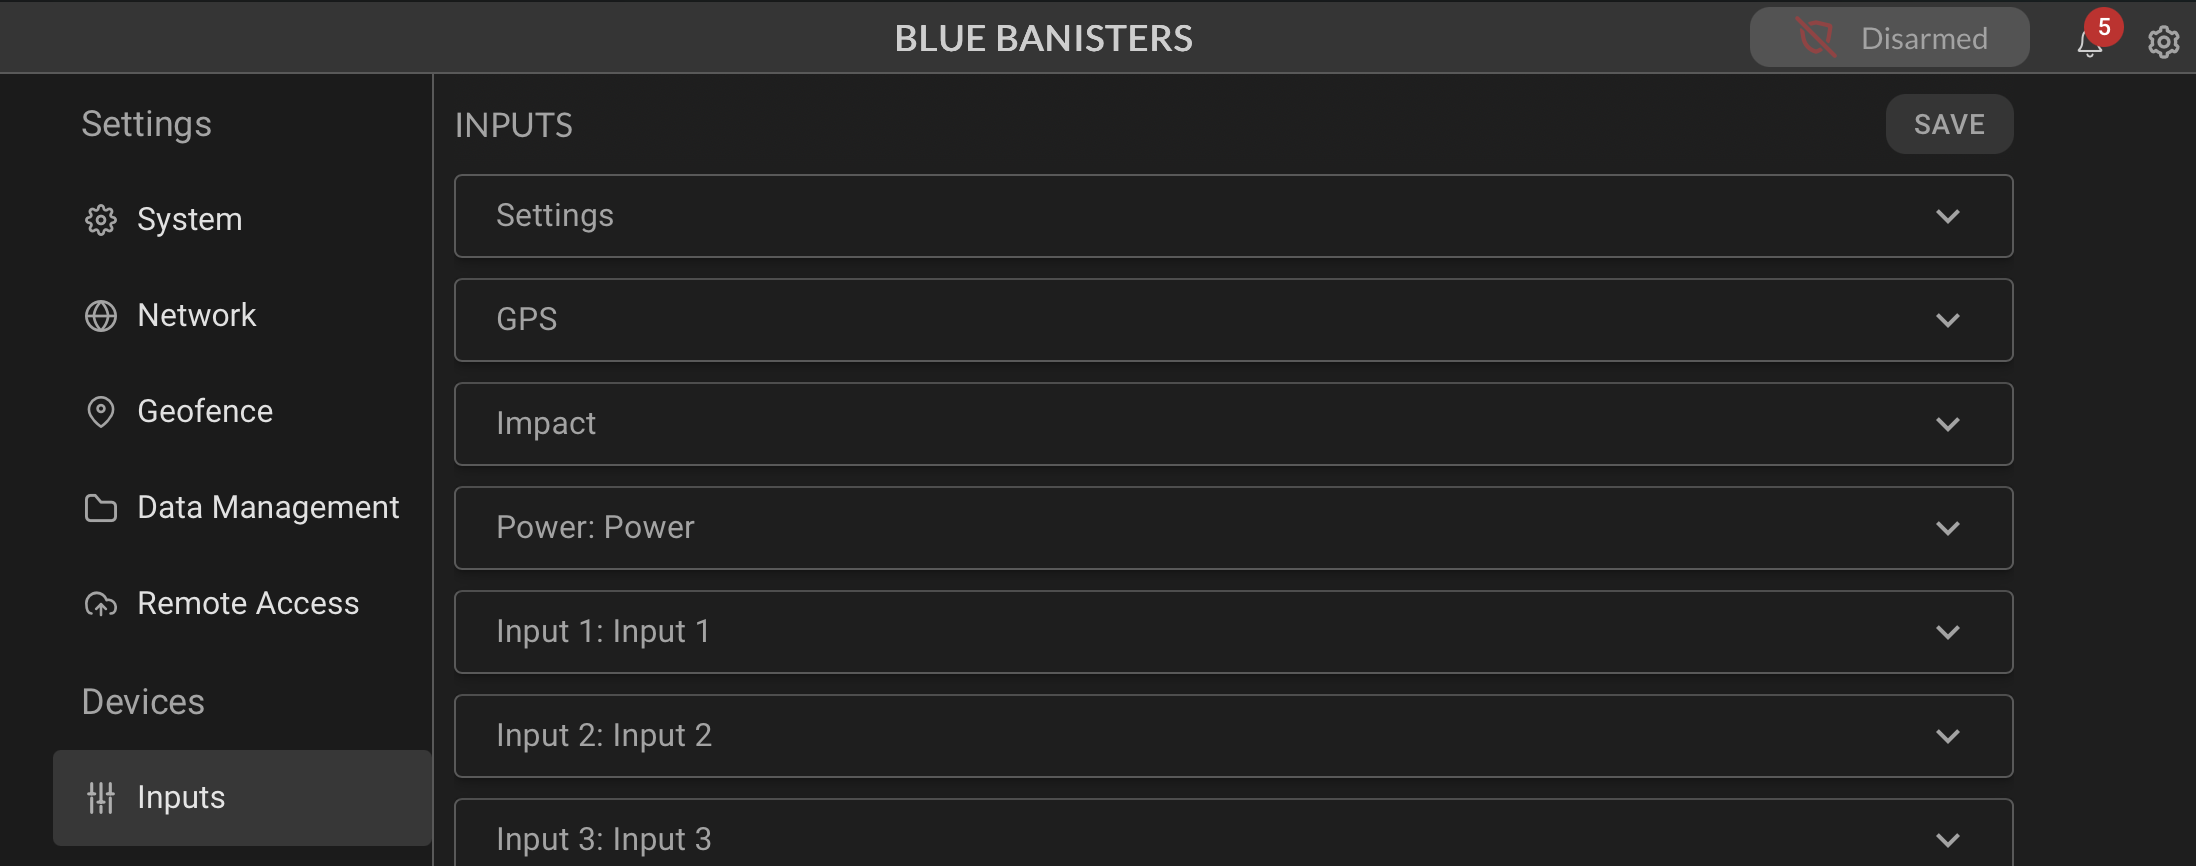
To configure the beam sensor in the BRNKL system:
A. Open Channel Settings
-
On your BRNKL-connected local network, go to Device Manager → Settings
-
Navigate to Inputs
-
Identify the input channel you connected the white wire to
-
Select that channel to open its settings
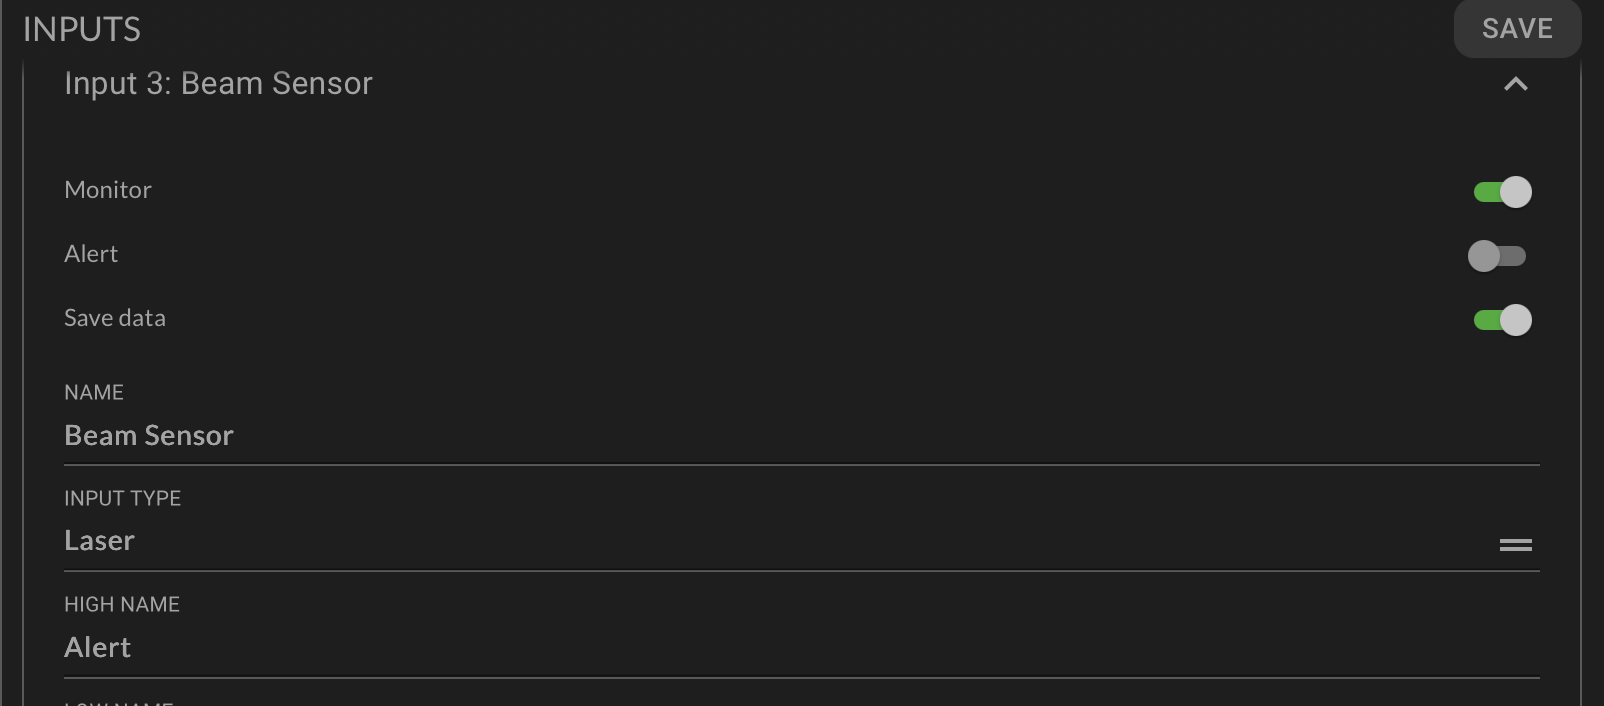
B. Name Channel
-
Replace the default channel name with a descriptive name (e.g., “Beam Sensor”)
-
Keep it to 12 characters or fewer for consistency
-
-
Save changes
C. Set Input Type
-
In the channel settings, set Input type to “Laser Sensor”
-
Save changes
D. Enable Monitoring, Alerts & Recording
-
Monitor: Turn on to see real-time beam status and event logs on the dashboard.
-
Alert: Enable to receive immediate notifications when the beam is broken while the system is Armed.
-
Critical Alert: Optionally enable to get alerts even if the system is Disarmed.
-
Record: Enable to log the events for auditing or playback.
-
Save changes once all desired options are configured.
Quick Test Procedure
-
Align sender and receiver units facing each other.
-
Observe the LED on the beam sensor enclosure.
-
With the beam unobstructed: LED should not blink.
-
Interrupt the beam (pass someone or an object through the path): LED should blink to indicate a trigger.
-
-
Confirm that the BRNKL input channel registers the event.
-
Fine-tune alignment if the LED behavior is inconsistent.
Troubleshooting Tips
-
If the LED stays blinking constantly, check alignment and ensure no obstructions or reflective surfaces are interfering with the beam path.
-
If the LED never blinks (even when obstructed), verify wiring (power, ground, input) and correct channel configuration in BRNKL.
-
For long-run installations, ensure the wiring remains dry, clean, and well-sealed against corrosion and marine conditions.