
Set up your BRNKL to monitor, report, or record activity in an onboard area using a laser sensor.
What you need:
-
BRNKL Laser Sensor
Reference:
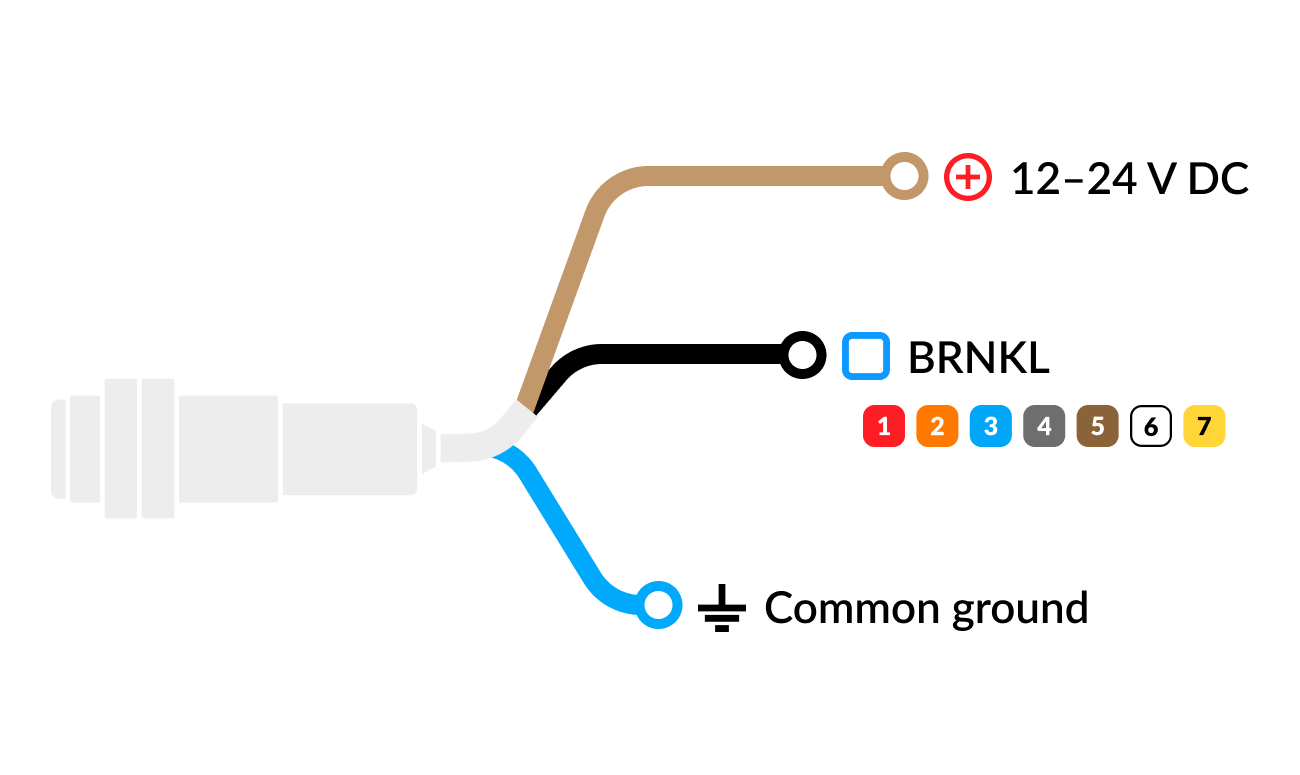
Connect laser sensor
Connect the following:
-
Brown lead to a 12–24 V DC terminal.
-
Make sure connection is unswitched.
-
-
Black lead to an available input channel on the BRNKL connector cable.
-
Blue lead to a common ground terminal.
Laser sensor connection settings
Set a wired channel on your BRNKL to act as a laser sensor connection.
To set laser sensor connection, follow these steps:
A | Open channel settings
Using your browser device, on the BRNKL-connected local network:
-
Go to the BRNKL Device Manager, select Settings

.png?cb=e4de334e189a408a941e789789d6fd6b)
-
From the Devices menu select Inputs.

-
In INPUTS, find the channel (1-7) used to connect the device to the BRNKL.

-
Select the channel to open its settings.

B | Name channel
In the selected channel settings:
-
Replace the default Name with a descriptive name.
-
Use 12 or fewer characters.

-
-
Save.

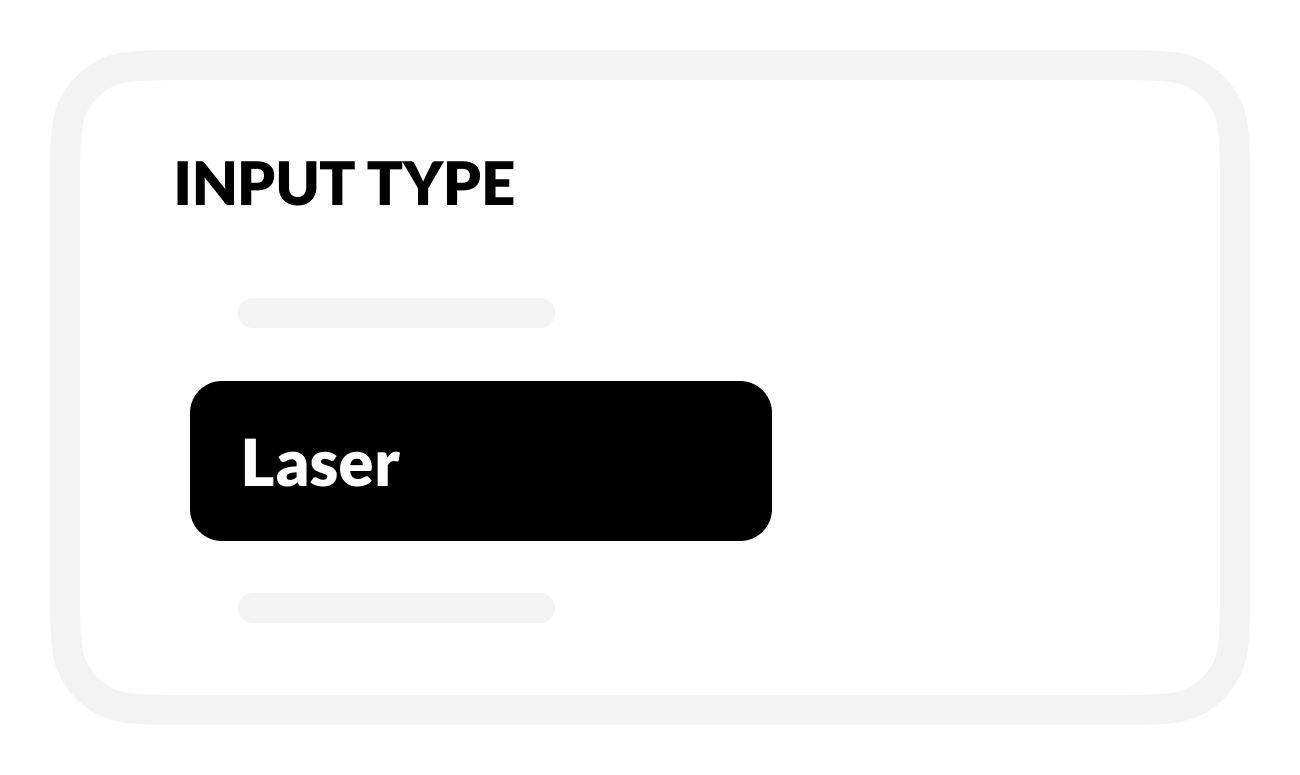
C | Set connection to laser sensor
In the selected channel settings:
-
In Input type, select Laser.
D | Set up area activity monitoring
In the selected Laser sensor activity settings:
-
To check area activity, turn on Monitor.
-
BRNKL will monitor and display when someone enters the area:
-
On the BRNKL Device Manager Dashboard, in real time.
-
In the BRNKL app (if connected), updated every 15 minutes.
-
-

-
Save when complete.
E | Set up area security alerts
-
To find out when someone enters the area, turn on Alert.
-
While Armed, BRNKL will immediately send alerts when there’s an area security event.

-
To find out about events while BRNKL is Disarmed, turn on Critical Alert.
-
BRNKL will send alerts while Armed or Disarmed.

-
-
-
To view video footage of the event, choose a camera view to Record on alert.

-
Save when complete.
F | Set up activity recording
-
To review area activity history, turn on Record.
-
BRNKL will record and store related data.

-
-
Save when complete.