Power the BRNKL Blue and prepare it for device and network connections.
Video walkthrough
Connect DC power
DC power input is monitored internally. You do not need to connect the power source to one of the seven hardwired input channels.
-
Identify a suitable DC power source: 9–60 V DC, always-on (not switched).
-
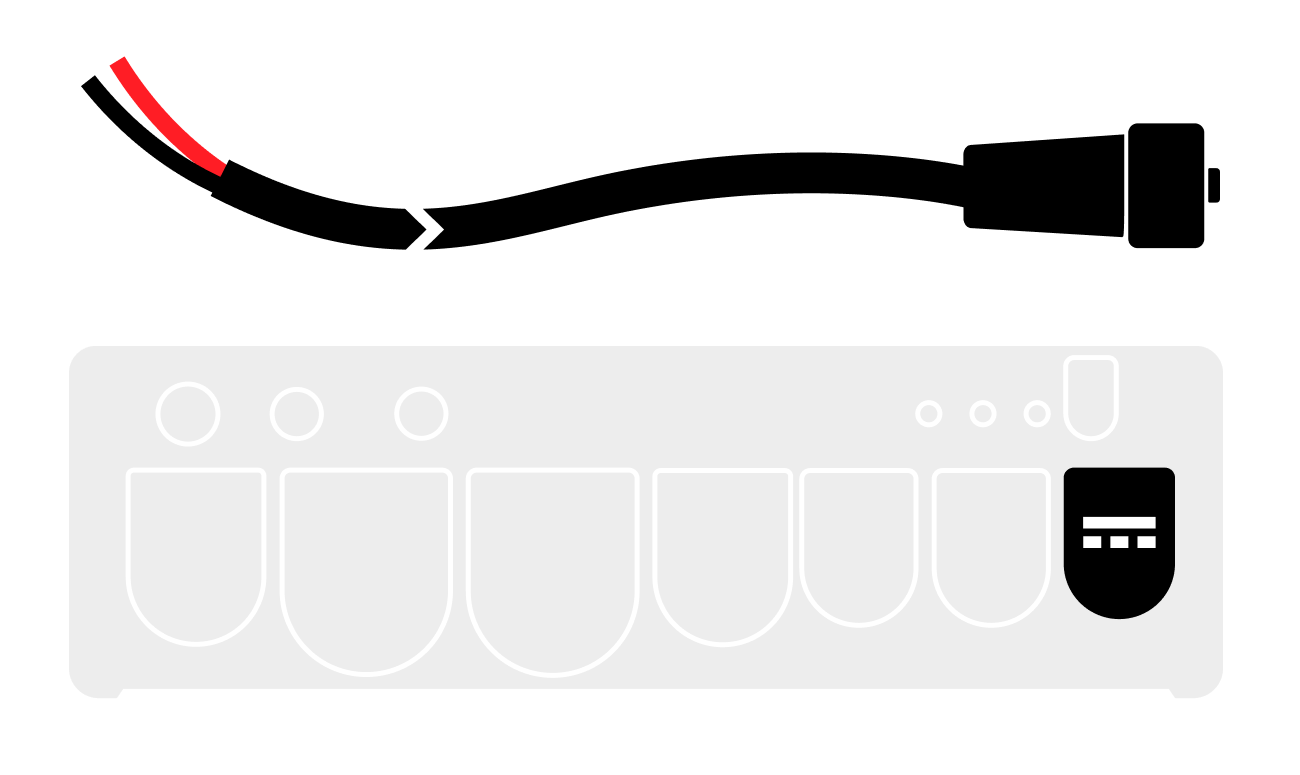
Plug the supplied power cable into the BRNKL Blue power port and turn the collar to fasten.
-
Connect the red wire to the positive terminal of the power source, with an inline 5 A fuse.

-
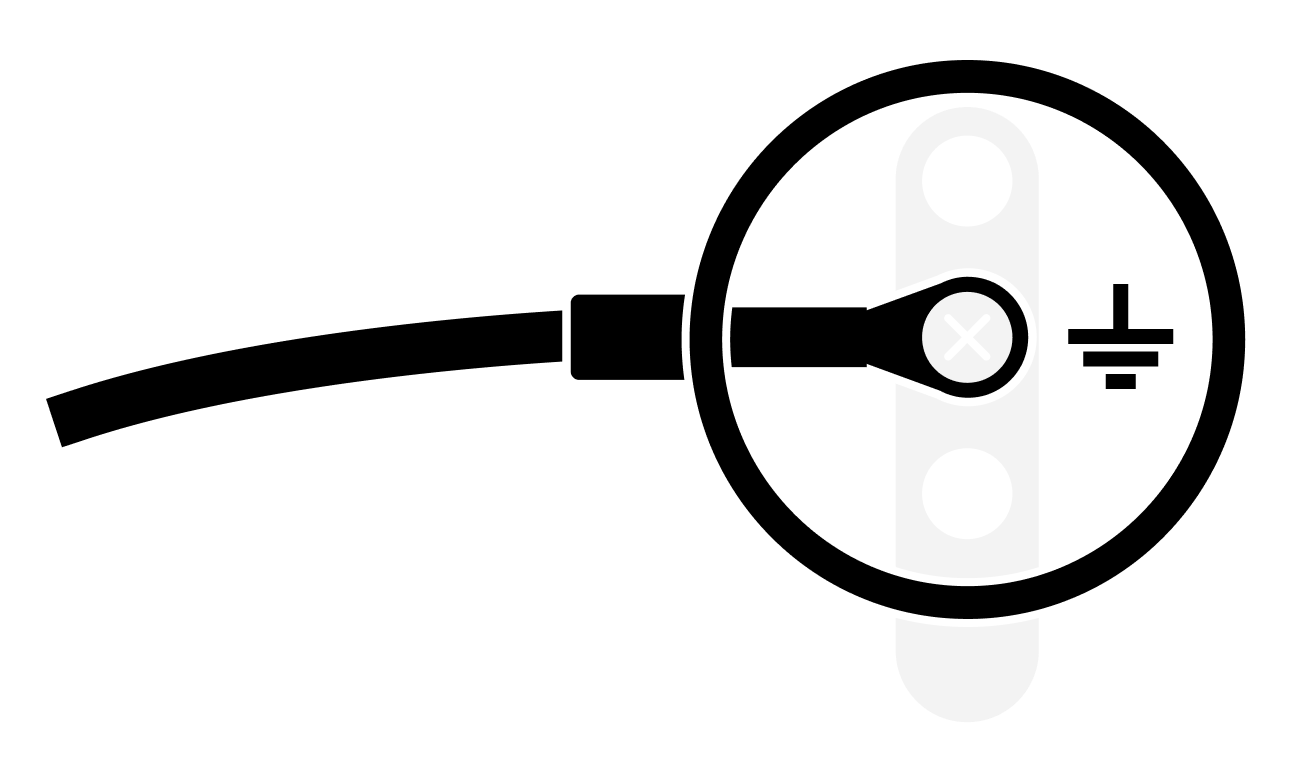
Connect the black wire to a common ground terminal.
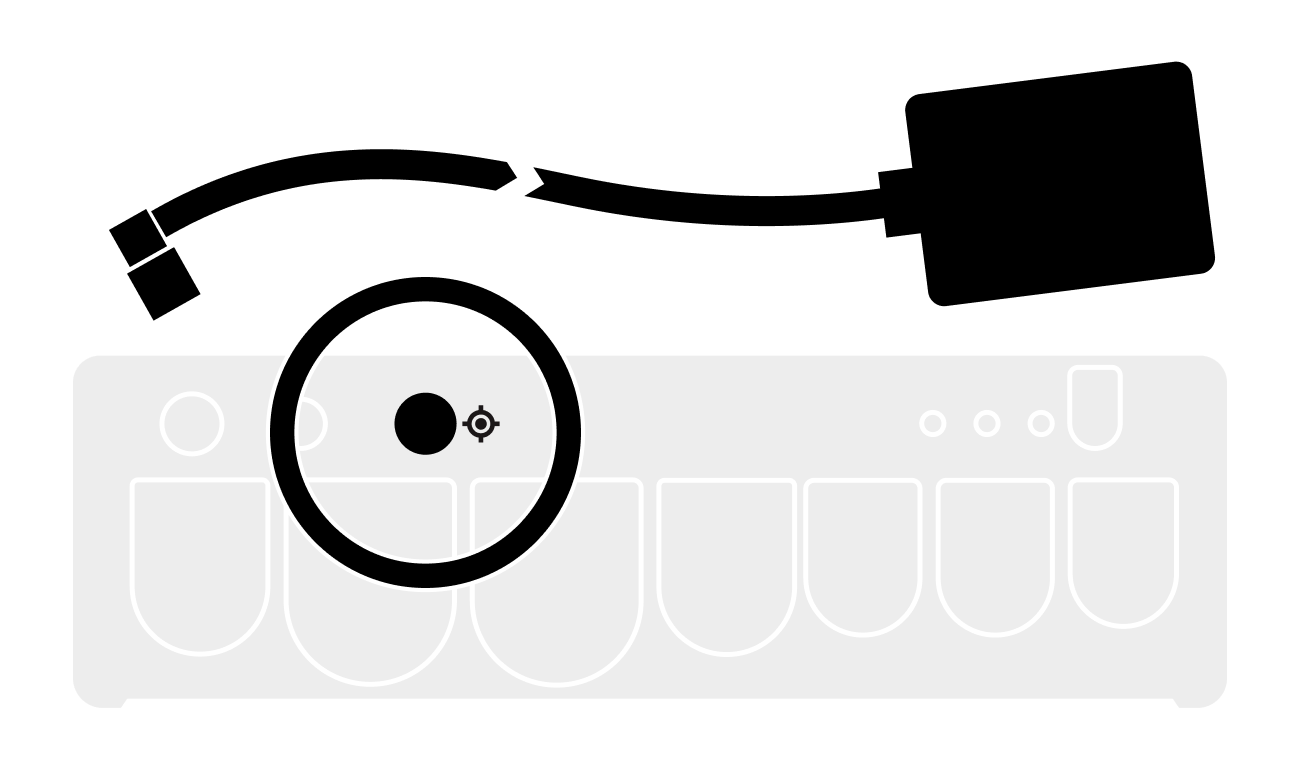
Connect the GNSS antenna
Plug the supplied GNSS antenna into the BRNKL Blue GNSS port ![]()
Connect to the local network
Local network refers to the internet-facing network on the vessel — Starlink, Peplink, or similar.
Plug an Ethernet cable from the local network into the BRNKL Blue local network port.

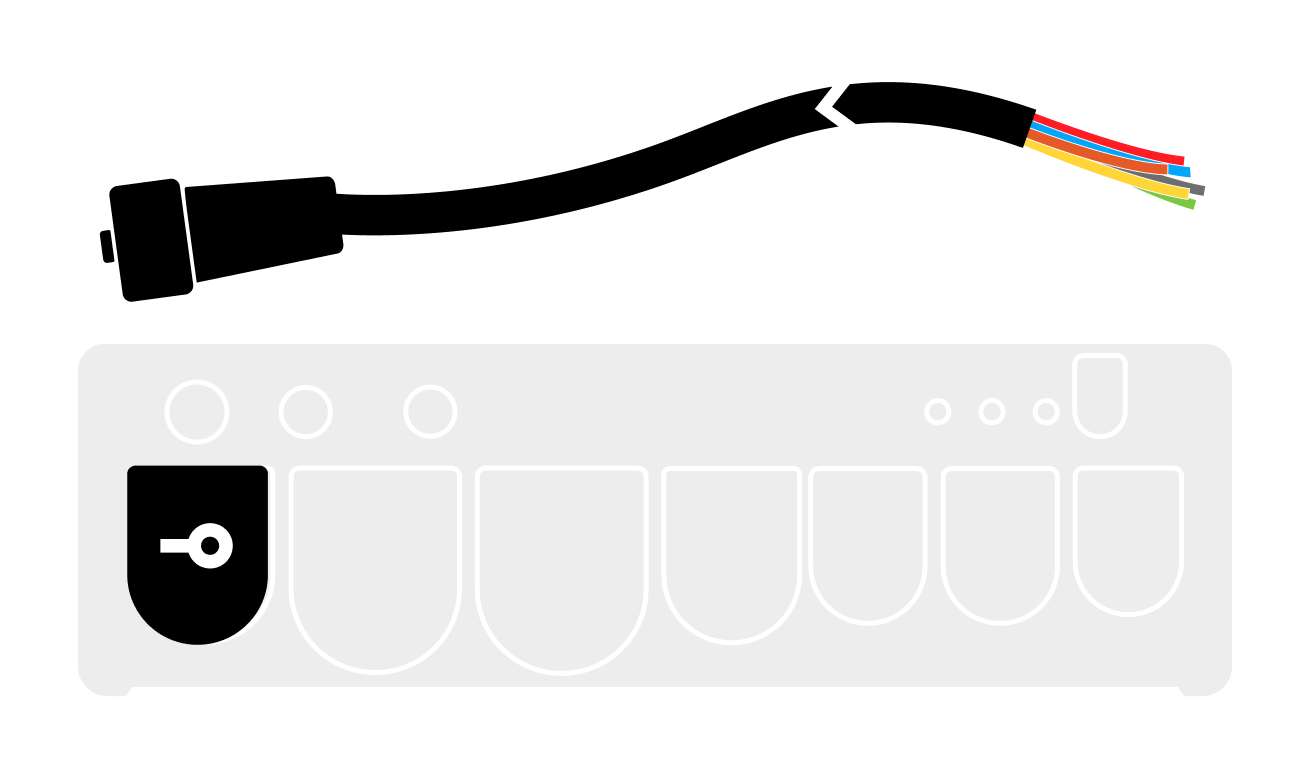
Connect the connector cable
The connector cable is the multi-wire harness used to connect the seven hardwired inputs and two outputs to onboard devices.
Plug the supplied connector cable into the BRNKL Blue connector port ![]()